
Your step-by-step guide to a natural, no-fuss application
A rough first try is one of the biggest reasons clip-ins end up back in the drawer. The good news is that once you've done it once or twice, it genuinely takes less time than your morning coffee. Here's the process we use ourselves, broken down step by step.
Before you start
Work with clean, dry, brushed-through hair. Product buildup or damp hair makes clips slip, and tangled hair makes sectioning harder than it needs to be. If you're using any texturizing spray or dry shampoo, this is the moment for it, since a little grip helps the clips hold.
Step 1: Section your hair
Create a horizontal part from ear to ear, roughly level with the top of your ears, and clip the top section out of the way. Everything below that line is where your first weft goes.
Step 2: Place your base weft
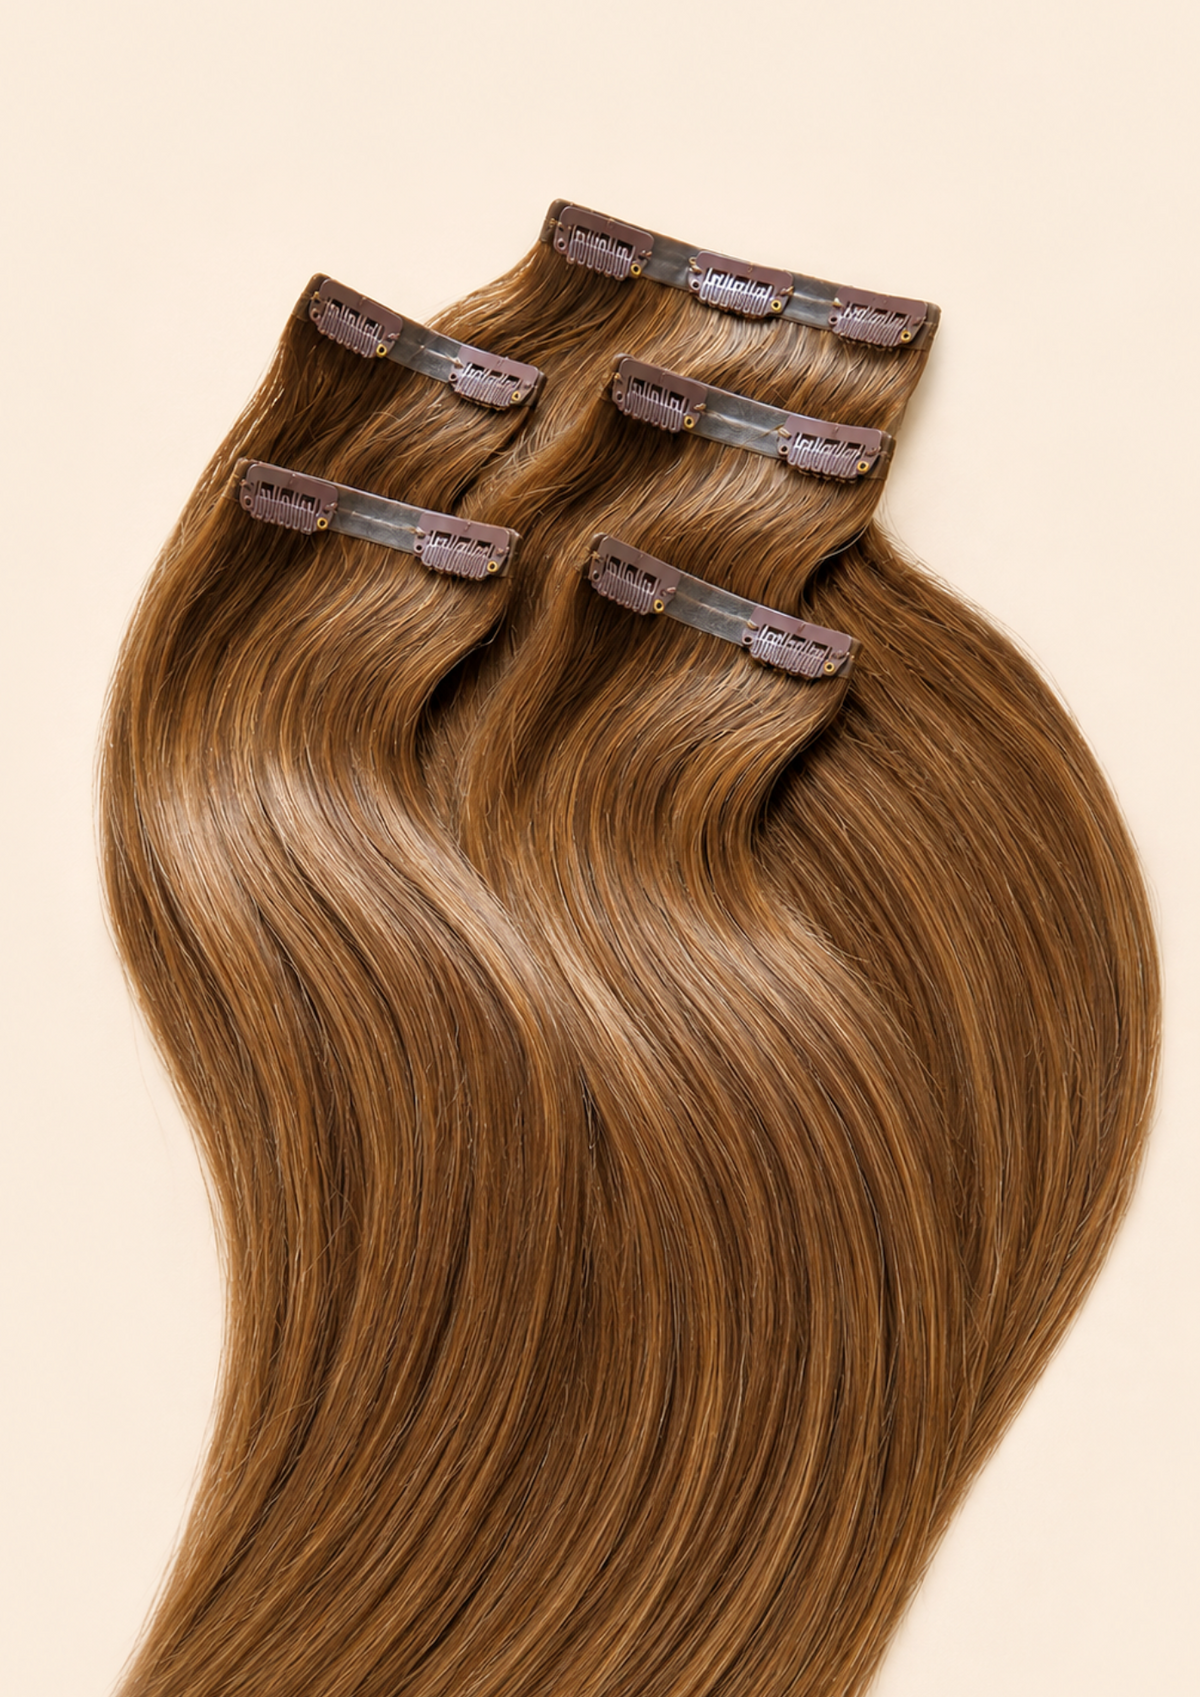
Take the largest weft, the one with three clips, and position it along that lower section at the back of your head. This is your volume base, so make sure it sits flat against your scalp before snapping the clips closed. Backcomb the root section lightly first if your hair needs a bit more grip.
Step 3: Work your way up
Drop down a new horizontal section about an inch above the first, and clip in one of the smaller two-clip wefts. Repeat this once more, moving up toward the crown. This is where most of your natural volume comes from, so take your time here rather than rushing to the last step.
Step 4: Fill in the sides
Take down small sections near your temples and part line, wherever your hair tends to look sparsest, and clip in your remaining two-clip wefts. These are the ones doing the most work for blending, so it's worth double-checking they sit flat rather than lifting away from your scalp.
Step 5: Release the top section and blend
Let down the hair you clipped out of the way at the start, and brush everything through together, from root to tip. This is the step that actually hides the seam, so don't skip it even if you're in a hurry.
A few things that make it easier
If a clip feels like it's slipping, it usually means the section underneath wasn't backcombed enough or the hair was too smooth to grip. A light tease at the root usually sorts this out.
If it feels bulky anywhere, check that you're not doubling up wefts in the same spot. Each one is designed for a specific section, so overlapping them defeats the point of the narrower design.
Removing them is just the reverse. Open each clip gently rather than pulling, working from the top section down.
The short version
Base weft first, then work upward, then blend. Five wefts, five minutes, and it gets faster every single time you do it. If you're still working out placement for your specific hair, our free shade match team is also happy to talk you through placement questions, not just color. Mel and I have many how-to tutorials on our socials, check them out if you need a video version. xx :)

Leave a comment
This site is protected by hCaptcha and the hCaptcha Privacy Policy and Terms of Service apply.